Nothing beats the smell of fresh, warm bread straight from the oven. For many people, bread-making feels like an intimidating task reserved for professional bakers, but that couldn’t be further from the truth. With just a few ingredients and a little bit of patience, you can create a soft, fluffy homemade sandwich bread that rivals anything you’d find in a store. Plus, there’s something incredibly satisfying about baking your own bread—it’s fresher, tastier, and free from preservatives.
In this guide, we’ll walk you through the process of making soft homemade sandwich bread step by step. Whether you’re a total beginner or someone looking to perfect their recipe, this article will help you master the art of bread-making in no time.
Table of Contents
Why Make Sandwich Bread at Home?
Before diving into the recipe, let’s talk about why you should consider making sandwich bread at home. Here are some compelling reasons:
1. Control Over Ingredients
When you make your own bread, you know exactly what ingredients are used. Many store-bought breads contain preservatives, additives, and excess sugar. By baking your own loaf, you can control the quality of ingredients and avoid unnecessary chemicals.
2. Better Flavor and Texture
Homemade bread has a flavor and texture that’s unmatched by mass-produced loaves. It’s fresher, softer, and more flavorful because you’re using real, wholesome ingredients.
3. Cost-Effective
Making your own bread can be surprisingly affordable. With just a few pantry staples, you can create a loaf that costs far less than high-quality store-bought bread.
4. Customization
When you bake your own bread, you can customize it to suit your tastes. Want a hint of sweetness? Add honey. Prefer a heartier loaf? Experiment with whole grains or seeds. The possibilities are endless.
Ingredients & Tools Needed for Homemade Sandwich Bread
To make the perfect soft homemade sandwich bread, you don’t need any fancy equipment or hard-to-find ingredients. Here’s what you’ll need:
Ingredients:
| Ingredient | Amount |
| All-purpose flour (or bread flour) | 3 ½ cups (420g) |
| Warm water (110°F) | 1 cup (240ml) |
| Active dry yeast | 2 ¼ tsp (1 packet) |
| Granulated sugar | 2 tbsp |
| Salt | 1 ¼ tsp |
| Unsalted butter (softened) | 2 tbsp |
| Milk (whole or 2%) | ½ cup (120ml) |
Tools:
- Mixing bowl (or stand mixer)
- Measuring cups and spoons
- Wooden spoon or spatula
- Loaf pan (8.5 x 4.5 inches)
- Clean kitchen towel
- Kitchen thermometer (optional)
- Wire rack for cooling
Note: You can use either all-purpose flour or bread flour. Bread flour has a higher protein content, which results in a slightly chewier texture, but all-purpose flour will still give you a soft and fluffy loaf.
Step-by-Step Guide to Making Soft Homemade Sandwich Bread
Now that you have your ingredients and tools ready, let’s get started with the actual process of making homemade sandwich bread.
1. Activate the Yeast
The first step in making bread is activating the yeast. Yeast is a living organism that helps the dough rise, creating the fluffy texture we all love in bread. Here’s how to do it:
- Combine warm water and sugar in a small mixing dish. The water should be around 110°F (warm, but not hot to the touch). Add the active dry yeast and stir gently.
- Let the mixture sit for about 5-10 minutes. You’ll know the yeast is activated when it becomes foamy and bubbly.
Pro Tip: If the yeast doesn’t foam after 10 minutes, it may be expired, or the water temperature may have been incorrect. In this case, discard the mixture and start again with fresh yeast and properly warmed water.

2. Prepare the Dough
In a large bowl (or the bowl of a stand mixer), mix together the flour and salt. Add the yeast mixture, warm milk, and softened butter. Stir the ingredients together until the dough starts to come together.
At this point, you have two options:
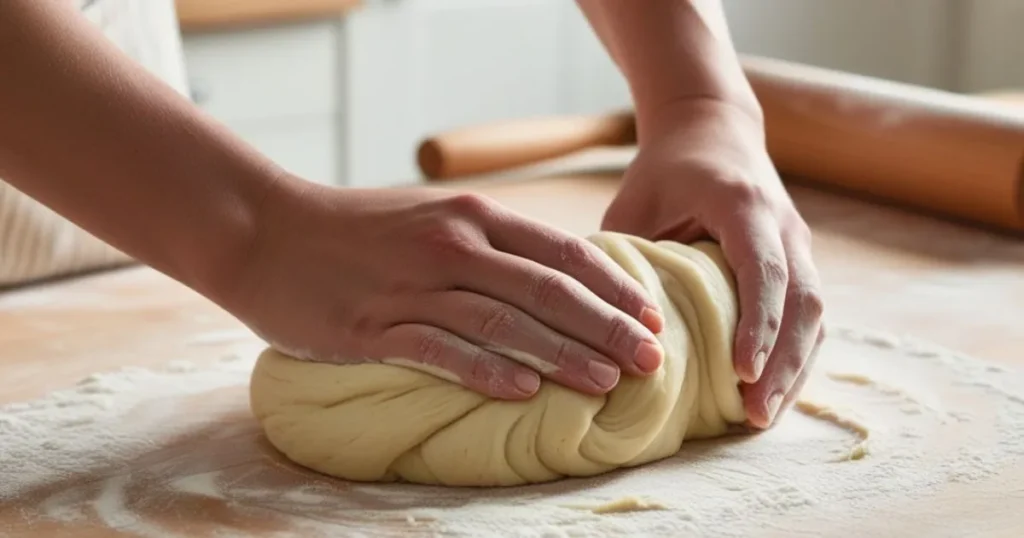
- By hand: Knead the dough on a well-floured surface for about 8-10 minutes. The dough needs to be soft, silky, and stretchy.
- Using a stand mixer: If you have a stand mixer, use the dough hook attachment to knead the dough on medium speed for about 6-8 minutes.
Key takeaway: Kneading is essential for developing the gluten in the dough, which gives the bread its structure and chewiness.
“The dough should be soft but not sticky. If it feels too sticky, add a little extra flour (a tablespoon at a time) until it comes together nicely.”
3. First Rise (Proofing)
The next step is to let the dough rise, which is also known as proofing. This allows the yeast to do its job, creating air pockets that give the bread its fluffy texture.
- Place the dough in a greased bowl, cover it with a clean kitchen towel, and leave it in a warm, draft-free spot. The dough should rise until it doubles in size, which usually takes about 1 to 1.5 hours.
Pro Tip: If your kitchen is cold, you can place the bowl in a turned-off oven with the oven light on. The gentle warmth will help the dough rise more effectively.
4. Shape the Dough
After the dough has doubled in size, it’s time to shape it into a loaf.
- Gently punch down the dough to release the excess air. Turn it out onto a lightly floured surface and shape it into a rectangle.
- Roll the dough up tightly, like you’re making a cinnamon roll, and pinch the seams closed. Tuck the ends under and place the dough, seam-side down, into a greased loaf pan.
5. Second Rise
Once the dough is in the loaf pan, it needs a second rise. Cover the pan with a kitchen towel and let it rise for another 30-45 minutes. The dough should rise until it’s about an inch above the top of the pan.
6. Bake the Bread
Preheat your oven to 350°F (175°C). After the dough has risen, place it in the oven and bake for 25-30 minutes, or until the top turns golden brown and the loaf sounds hollow when tapped..

For extra accuracy, you can use a kitchen thermometer to check the internal temperature of the bread. It should read 190°F (88°C) when fully baked.
7. Cool the Bread
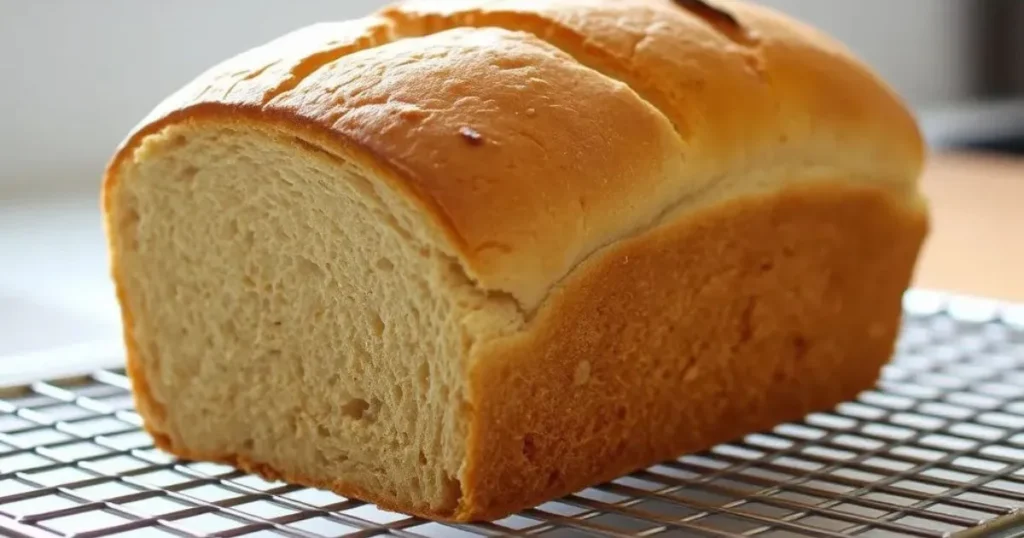
Once the bread is done baking, remove it from the loaf pan and place it on a wire rack to cool. Let the bread cool completely before slicing. This step is crucial because cutting into hot bread can make it gummy in texture.
Tips for Perfect Homemade Sandwich Bread
Making bread is as much an art as it is a science. Here are some tips to help you perfect your loaf:
1. Use Fresh Yeast
Yeast is essential for a good rise, so be sure your yeast is fresh and not past its expiration date. If you’re unsure, you can always perform a quick test by dissolving a small amount in warm water with sugar to see if it foams.
2. Monitor Water Temperature
If the water is too hot, it may kill the yeast, while water that is too cold won’t activate it effectively. Aim for water that’s between 105°F and 110°F for the best results.
3. Don’t Skip the Kneading
Kneading helps build the gluten in the dough, giving the bread its structure.You’ll know the dough is ready when it feels smooth and stretchy. If you’re kneading by hand, aim for about 8-10 minutes of kneading time.
4. Let It Rise Properly
Both the first and second rises are crucial for creating a light, airy loaf. Don’t rush the process—let the dough rise until it doubles in size during the first rise and until it’s about an inch above the loaf pan during the second rise.
5. Brush with Butter
For a softer crust, brush the top of the bread with melted butter as soon as it comes out of the oven. This simple step makes the crust tender and adds a delicious buttery flavor.
Common Bread-Making Issues and How to Fix Them
Even with good intentions, things can occasionally go awry in the kitchen. Here are some common bread-making problems and how to troubleshoot them:
1. Dense Bread
If your bread turns out dense, it’s likely due to one of two things: under-kneading or insufficient rising time. Make sure to knead the dough until it’s smooth and elastic, and don’t rush the rising process.
2. Bread Didn’t Rise
If your bread didn’t rise properly, it could be due to inactive yeast, water that was too hot (which kills the yeast), or a cold kitchen. Always double-check your yeast and water temperature, and try to let your dough rise in a warm, draft-free area.
3. Crust Too Hard
A hard crust can be the result of over-baking or a dry environment during baking. To soften the crust, you can brush the top of the bread with butter after baking, or cover the bread with a kitchen towel as it cools.
4. Dry Bread
If your bread feels dry, it could be due to too much flour or over-baking. Make sure you measure your ingredients carefully and don’t bake the bread for longer than necessary.
5. Bread Collapsed After Baking
If your bread rises beautifully but then collapses after baking, it may have over-proofed (risen for too long). Make sure to keep an eye on the dough during the second rise, and bake it once it has risen just above the top of the pan.
Variations and Customizations
Once you’ve mastered the basic recipe for soft homemade sandwich bread, you can start experimenting with different flavors and ingredients. Here are a few options to explore:
- Whole Wheat Bread: Replace up to half of the all-purpose flour with whole wheat flour for a heartier loaf.
- Honey Oat Bread: Add 2 tablespoons of honey to the dough and sprinkle oats on top before baking for a sweet, nutty flavor.
- Cheese Bread: Fold shredded cheese into the dough during the shaping step for a cheesy twist on sandwich bread.
- Herb Bread: Add a tablespoon of dried herbs (such as rosemary or thyme) to the dough for a flavorful loaf.
Storing and Freezing Homemade Bread
Once your delicious homemade sandwich bread has cooled, it’s important to store it properly to keep it fresh.
Storing Bread:
- At Room Temperature: Store your bread in an airtight container or a plastic bag at room temperature for up to 3 days. Avoid putting the bread in the fridge, as this can make it dry out..
- In the Freezer: For longer storage, slice the bread and freeze it. Place the slices in a freezer-safe bag and freeze for up to 3 months. You can toast the slices directly from the freezer or allow them to thaw at room temperature.
Frequently Asked Questions (FAQ)
Q:Can I replace active dry yeast with instant yeast?
A: Sure, instant yeast can be used as a replacement for active dry yeast. If you’re using instant yeast, you can skip the step of activating it in water and mix it directly with the dry ingredients.
Q: How can I make my bread softer?
A: To achieve a softer loaf, ensure you knead the dough well, allow it to rise completely, and brush the top with melted butter once it’s baked. You can also replace some of the water with milk for a richer, softer texture.
Q:Can I whip up this bread in a bread machine?
A: Yes! Most bread machines have a basic white bread setting that works well with this recipe. Just follow your machine’s instructions for adding ingredients.
Q: Why is my bread dense and heavy?
A: Dense bread can be caused by under-kneading or not letting the dough rise long enough. Make sure to knead the dough until it’s smooth and elastic, and allow the dough to rise until it has doubled in size.
Q: Can I add seeds or nuts to the dough?
A: Absolutely! You can fold seeds, nuts, or even dried fruit into the dough during the shaping step for added texture and flavor.
Nutritional Information (Per Slice)
| Nutrient | Amount |
| Calories | 140 |
| Carbohydrates | 24g |
| Protein | 4g |
| Fat | 3g |
| Fiber | 1g |
| Sugar | 2g |
| Sodium | 150mg |
Conclusion
Making soft homemade sandwich bread is easier than you might think. With just a few pantry staples and a little time, you can create a loaf that’s soft, flavorful, and perfect for sandwiches, toast, or simply eating on its own. Whether this is your first time baking bread or you’re looking to refine your skills, this recipe will guide you every step of the way.
By following these tips and tricks, you’ll be able to enjoy fresh, homemade bread that’s free from preservatives and full of flavor. So, the next time you’re tempted to reach for store-bought bread, remember that a warm, homemade loaf is just a few steps away.
Happy baking!

